Auto Desk Inventor projects
Auto Desk Inventor is a program on Microsoft that lets you create 2-Dimensional and 3-Dimensional shapes and objects
- Open up inventor.
- Click the I in the top left corner, and click new.
- Click "Standard.ipt" then hit create.
- Click the top half of the "Start 2D Sketch" in the top left corner.
- Put your mouse in the spot where it will say that you have the XY Plane selected. Then click it.
- Click the line tool to start drawing your widget.
- Click anywhere in your work area and drag over. Type in the dimension that you need and click enter.
- Keep doing that with the side of the widget that you are creating.
- After you have draw the one side of your widget, click the green "Finish Sketch" in the top right corner.
- Click the "Extrude" button in the upper left side of the screen.
- Put in however far you want your widget to go and the click "OK".
- Then your widget has been created.
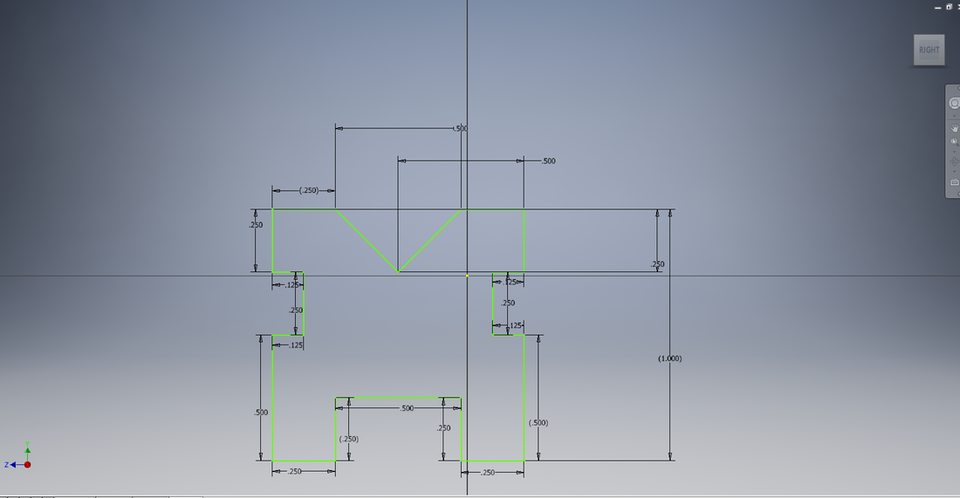
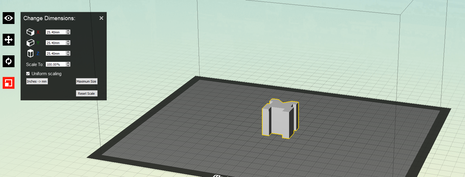
This is where you make the sketch with the line tool and dimension it with the correct dimensions from your sketch.
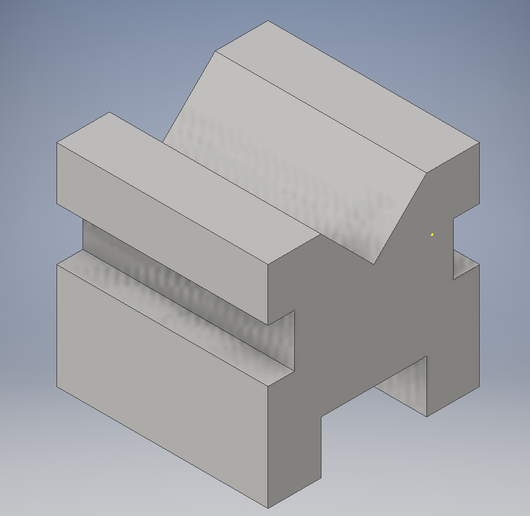
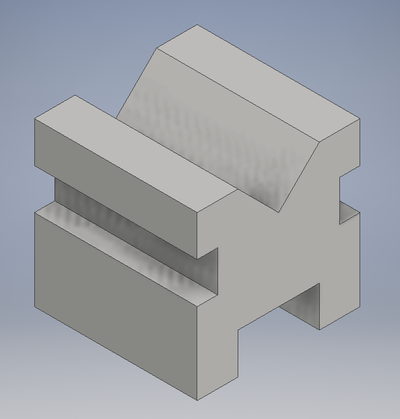
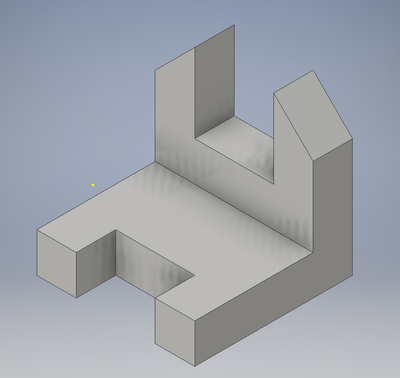
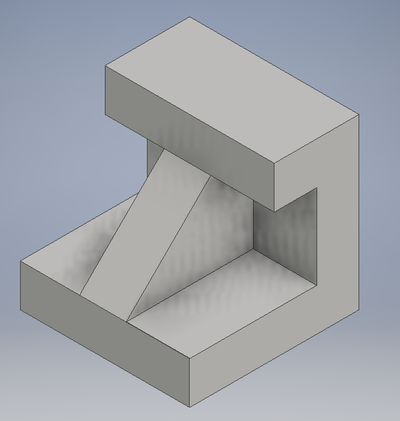
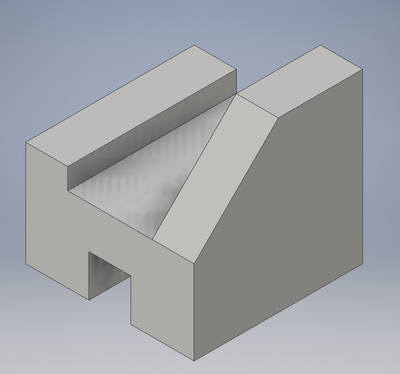
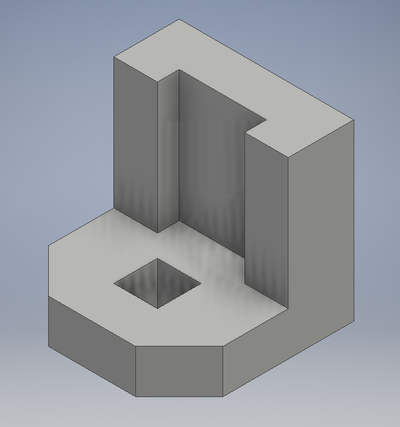
This is what your results will be after you extrude the 2-D sketch by 1 inch making it 3-D.
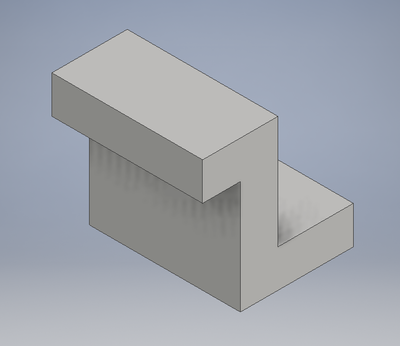
Inventor Widgets
|
|
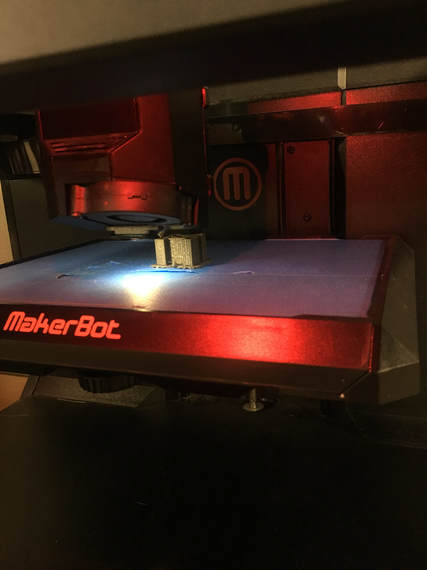
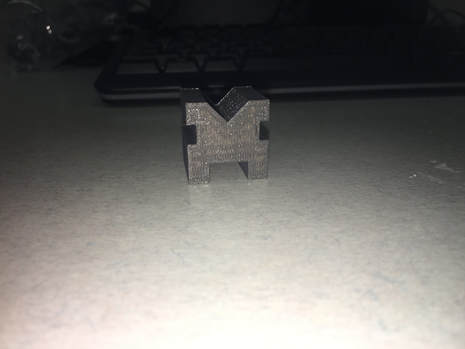
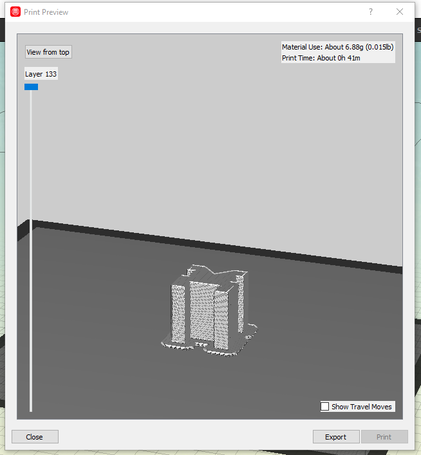
MakerBOT And 3-d Printing
|
|
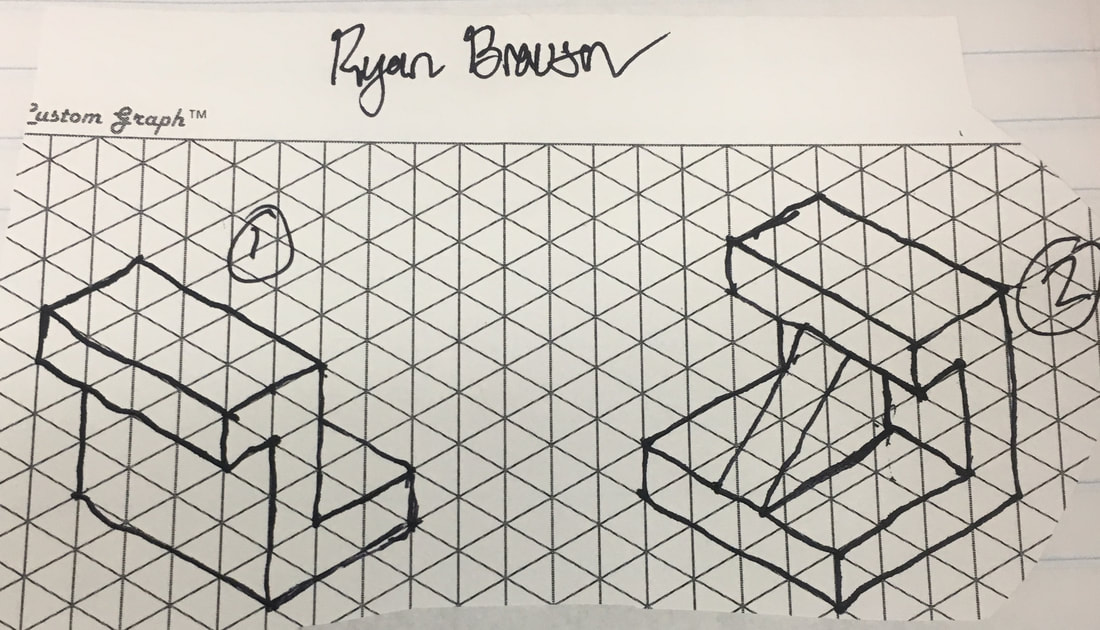
Sketches
These are 2 sketches that I drew on graphing paper in class.
Summary Of inventor/3-D Printing
What I learned from Inventor and 3-d Printing is how I can create 3-Dimensional using the Inventor Software on Microsoft, also I learned how to extrude and cut parts out of a 2-Dimensional object to then make it a 3-Dimensional. I also now how to use a 3-D printer now which is really cool and not a lot of people are able to use the technology that we have.
